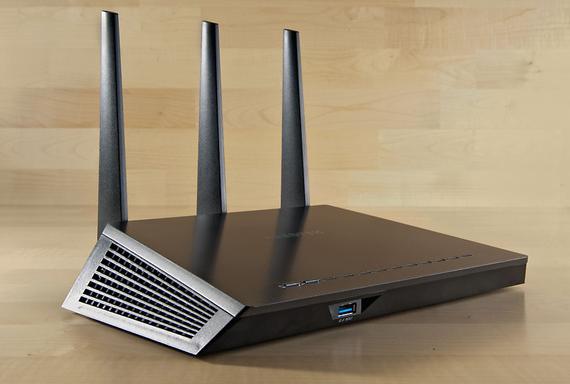
Netgear does it in the best way when it comes to networking and wireless. With Netgear Nighthawk AC1900 Smart Wi-Fi router, the company proves it again why it holds the ground firmly for wireless devices and competes head to head with other Wi-Fi manufacturers in the markets. The router, powered with 802.11n and 802.11ac, respectively on 2.4GHz and 5GHz bands, is bestowed to proffer up to 600mbps speedier data transfers, video streaming from Netflix, YouTube, or Vudu etc., file sharing, and networking etcetera. Now that we believe you must be an owner of this fast and furious beauty, you can get straight off with the setup and configuration of it.
Step 1: Position/Connect Router with Devices
Place the router in a way that it is within the vicinity of power source and the DSL modem and PC. Make sure that you attach the three aerials and point them upwards and in the best possible angle to help them catch the strongest Wi-Fi signals and maintain a steady Wi-Fi connection.
Now turn off the modem and PC before you connect the router to them. Now connect PC to the router using the Ethernet cable. It should be tightly plugged in to any one of the 4 LAN ports on the router, with the other end going in to the “Ethernet” port of the PC. Router and PC are connected now. Now plug another Ethernet cable in to the “Internet” port of the router and run its other end in to the “Ethernet” port of the DSL modem. The modem and router are connected now. Do plug the router, modem, and PC into their respective power sources. Now press the “Power” button on the router to turn it on. Similarly turn on the modem and PC as well. You can check the lights’ status on the router to make sure that the devices have been recognized by each other.
Step 2: Pull Up Web-based Router Interface to View/Change Settings
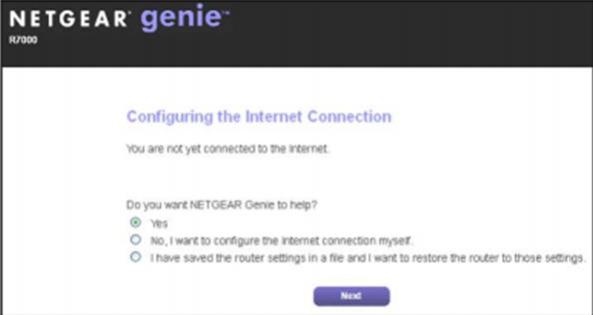
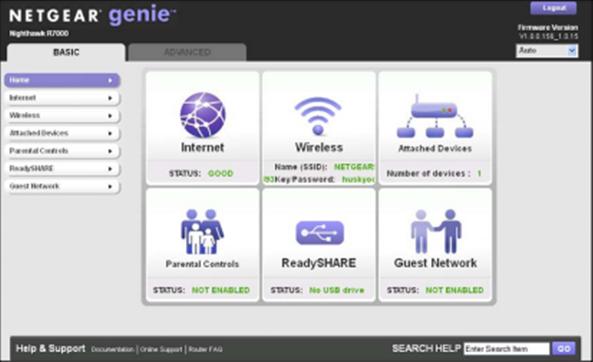
It is the easiest way to get in to the router to view and/or change the default settings to custom ones. You can customize your Internet settings, Wi-Fi, parental controls, and other miscellaneous configurations to experience a faster than never before web and just more. Once you have opened the web browser, type any of these IP addresses viz. 192.168.1.1, 192.168.0.1, 192.168.1.2, or “http://www.routerlogin.net” in the address bar to pull up the router’s web interface. If you are accessing this first time, the automatic Netgear Genie wizard will pop up, configuring the type of Internet connection you have. If you wanted to set express settings, follow the on-screen prompts or configure everything manually.
Enter the router’s username and password when prompted to customize settings. The default username and password for the router is respectively “admin” and “password”. You can change it too if desired.
P.S. for manually configuring your Internet connection, you may need details like username, password, IP address (static or dynamic), subnet mask, DNS server address etc. So do collect all these details before you
Step 3: Configure Wi-Fi Network
You can configure your wireless network manually or through the Network genie setup wizard. Since the router is WPS-enabled, you can simply turn on the WPS feature on it and connect on the Wi-Fi devices to your network. Or otherwise, you can simply configure it the traditional way and then go wireless.
If you encounter any kind of issues during the Netgear router setup or after the setup such as facing dropped Wi-Fi connection or invalid username and password, call us at +1-877-907-4935 and get a Netgear Router Expert to help you.


